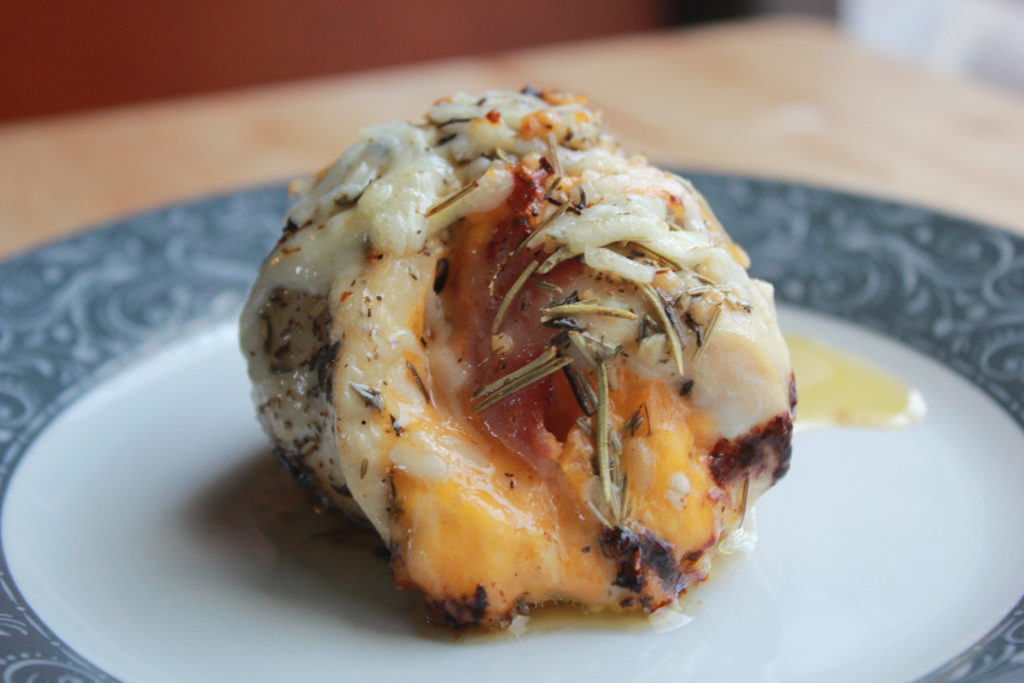
I haven’t been trying out as many new recipes as I would like lately, but I did have time to experiment on a new dish this week and man was it a success. SO good. I’m really excited to share this recipe for my own version of Chicken Cordon Bleu with you!
This recipe is my take on two different dishes: Chicken Cordon Bleu and a buttery, garlic and rosemary chicken dish that I was inspired by on Pinterest recently. I wasn’t sure if the two would mesh very well but apparently they did because I was practically licking my plate.
I decided to try using sharp cheddar instead of the usual Swiss inside the chicken and was very pleased with the result. I’ll have to try Swiss with this recipe sometime though so I can see which I prefer.
Here are my super awesome iphone pictures of the process. 😉
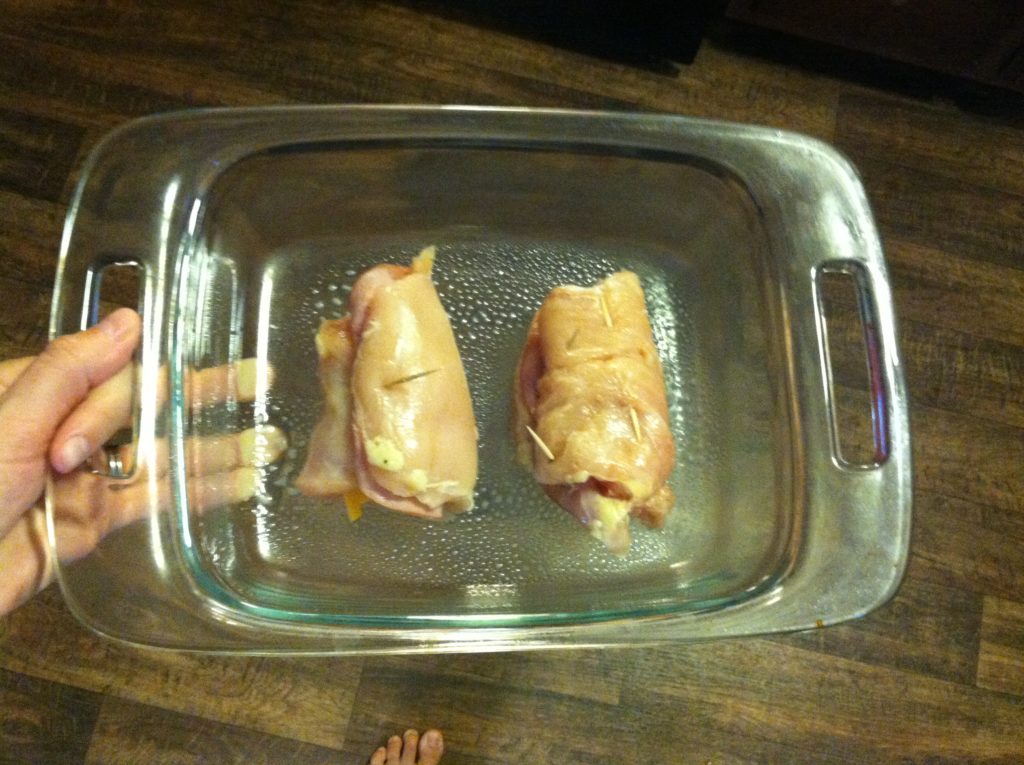
{All rolled up}
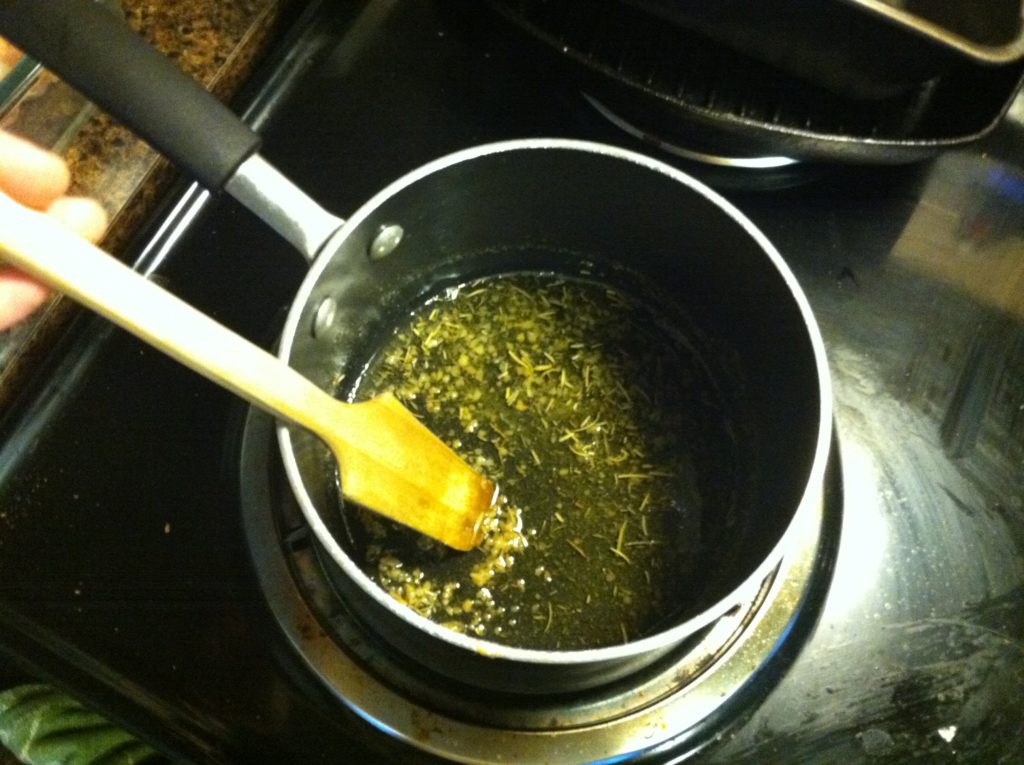
{Garlic butter}
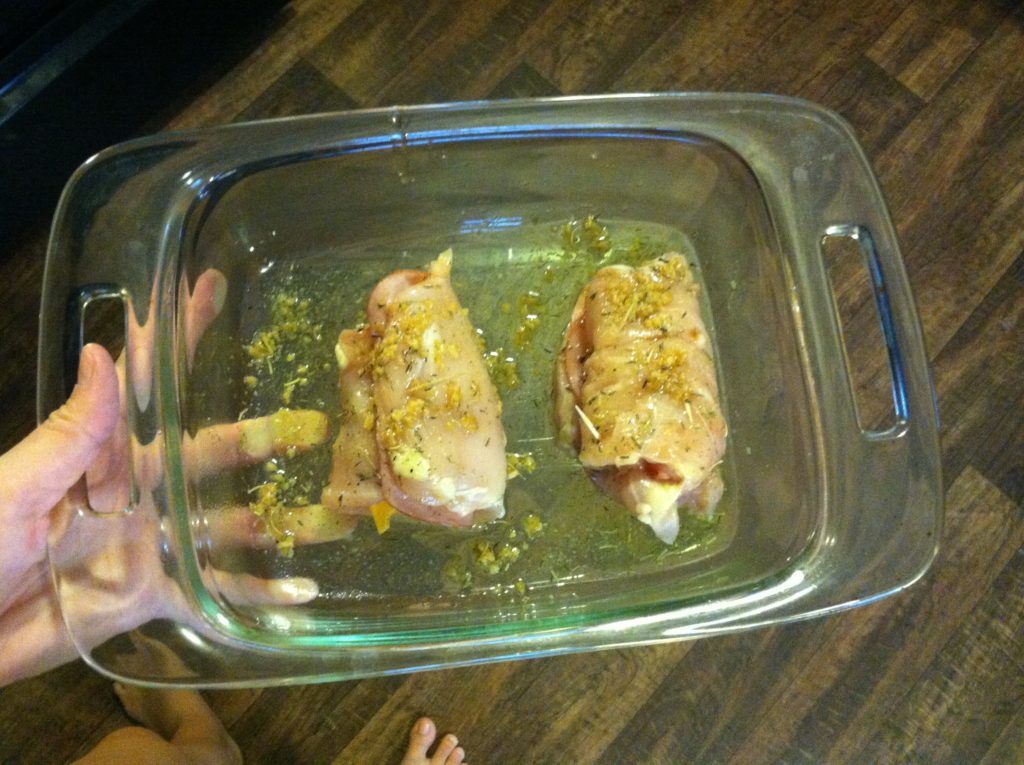
{Topped with the butter mixture and ready to be baked}
And now without further ado, here’s the recipe!
Ingredients:
- 1 large chicken breast, carefully sliced in half width-wise (what I did) or 2 breasts, flattened with a meat tenderizer
- 2 slices of deli ham
- 2 slices of sharp cheddar
- salt & pepper
- 1/4 cup butter (half a stick)
- 4 cloves of garlic, minced (or 1 and 1/2 tsp. minced garlic)
- 1 tsp. dried rosemary
- 1 tsp. dried thyme
- shredded mozzarella cheese (just a little for sprinkling on top)
Instructions:
- Lay the chicken breasts on a clean surface, place the deli ham and cheese on top and roll tightly. Secure with a toothpick (or several if you’re like me ha!)
- Place the rolled up chicken in a greased baking dish and add a bit of salt and pepper.
- In a small sauce pan, melt butter; then add the minced garlic and let simmer until starting to brown slightly. (Make sure not to burn the garlic!) Remove from heat and stir in the rosemary and thyme.
- Pour butter mixture on top of the chicken.
- Bake chicken at 350 degrees for 30 minutes or until chicken reaches an internal temperature of 165 degrees.
- Remove from oven. Sprinkle a little mozzarella cheese on top and let sit, covered, for 5 minutes. Then **remove toothpicks** and serve! 🙂
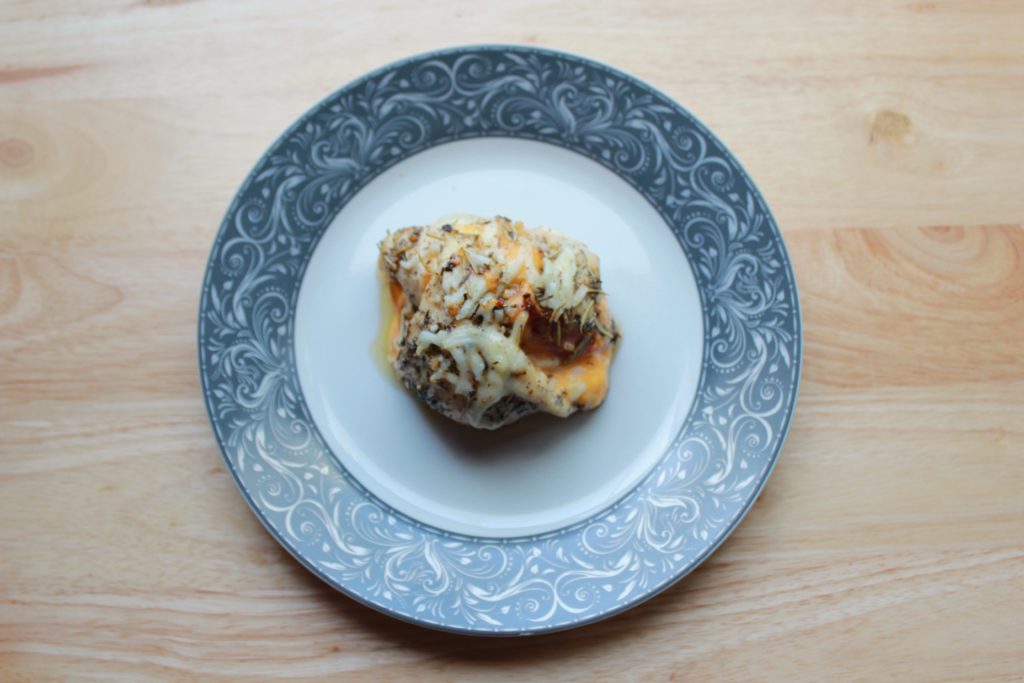
As you can see, I took the tooth pick out when I was photographing my finished product and it started to unroll just a bit. But hey, that way you get a better peek at all that yummy cheese right?
If you try the recipe please leave me a comment and let me know what you thought! 🙂
Did you enjoy this post? Like me on Facebook to see more!


